

Such a fun project to do with kids of all ages, especially during this crazy, covid time. I'll be honest, I went into the project not knowing exactly what to do, and did my own thing along the way, so I promise it's super easy. I hopped on Pinterest and found a few different techniques and ended up going the ice route. A few people said they liked this way because the colors weren't as bright and more of a pastel. This is exactly what I wanted. Here's what worked for us.
what you need:

We used this kit but ended up using mainly the pink, purple and orange. If you know you are going for those similar colors you could just buy the specific colors you need. To give you an idea of how far they go, the pink bottle was enough for three shirts using the ice method.
1. Use a 100% cotton shirt. We used long sleeves. I got this tee for the girls, xs for Kourt and s for Jules. They were both a little big, especially on Kourt but still worked great. I got this tee for myself and it was true to size. It's mens and I could have gone with a medium but went with the large for a looser fit.

2. Decide on what pattern you want to do and lay your shirts on a pan. I found so many different ideas online by searching tie dye patterns. I wanted something different and was afraid I'd mess up any sort of pattern so I went the messy route for mine and Jules'. I ended up just laying ours flat onto a pan and scrunching in different places. Kourt wanted a rainbow look so I tied hers with rubber bands, spacing them out equally.
** I did not wash or wet the shirts before applying the dye.**


3. Cover your shirts with ice. I would have used more but we ran out.

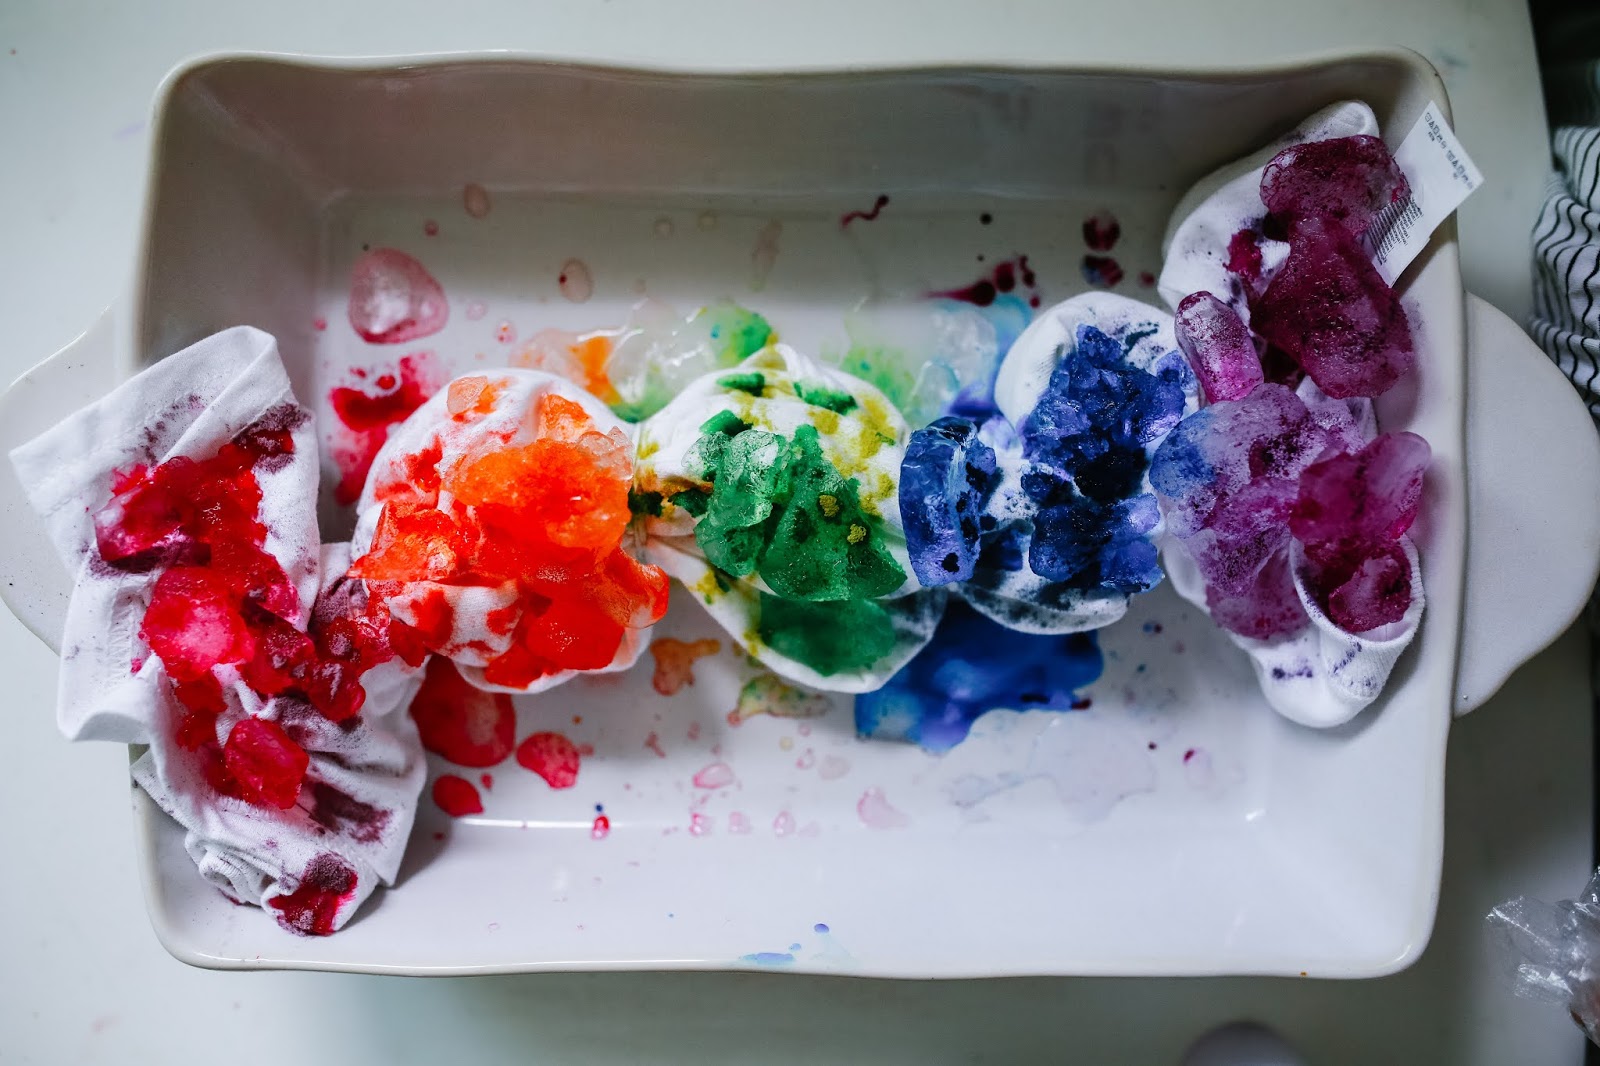
4. Apply dye. Do not add water to your dye. You are going to sprinkle the dye powder directly onto the ice. Remember, a little powder goes a long way. After you add the dye spray/pour water to the tops. This part is going to look horrible. After we added our water and I saw all the colors sort of blend and turn into a totally different color. Especially on the rainbow one, all the water on the bottom of the pan turned brown. I was so sure they were ruined.


5. Most articles said to let them soak for 24 hours+. This was my first time doing this and I was afraid leaving them that long would make them super saturated and that's not what I wanted. I got impatient and ended up letting them soak for only 16 hours. I was so shocked and surprised at how pretty the patterns and color turned out.
6. Rinse. Wash. Dry . I rinsed them in the bath tub with cold water. It's important to keep rinsing until there is no more color coming from your shirts. I then washed them one at a time in hot water then threw them in the dryer in regular heat.

Super easy! Kinda did my own thing along they way but it worked and we loved them so much! We did make a boy versos for Jacks but didn't photograph it along the way. I used a white shirt and used the black color on it. We plan on making matching sweatshirts and adding some fun patches to them. If you make your own, be sure to tag me on instagram, @alittlejandk. We would love to see your creations and share them!
here's what's on our shopping list for next time:
if you like this diy please p i n m e


